Mastering the Art of Sprinkler Head Adjustment: A Guide to Optimizing Your Irrigation System
American Irrigation Repair is your trusted local sprinkler repair company serving customers in Round Rock, Austin, Round Rock, and the surrounding areas.
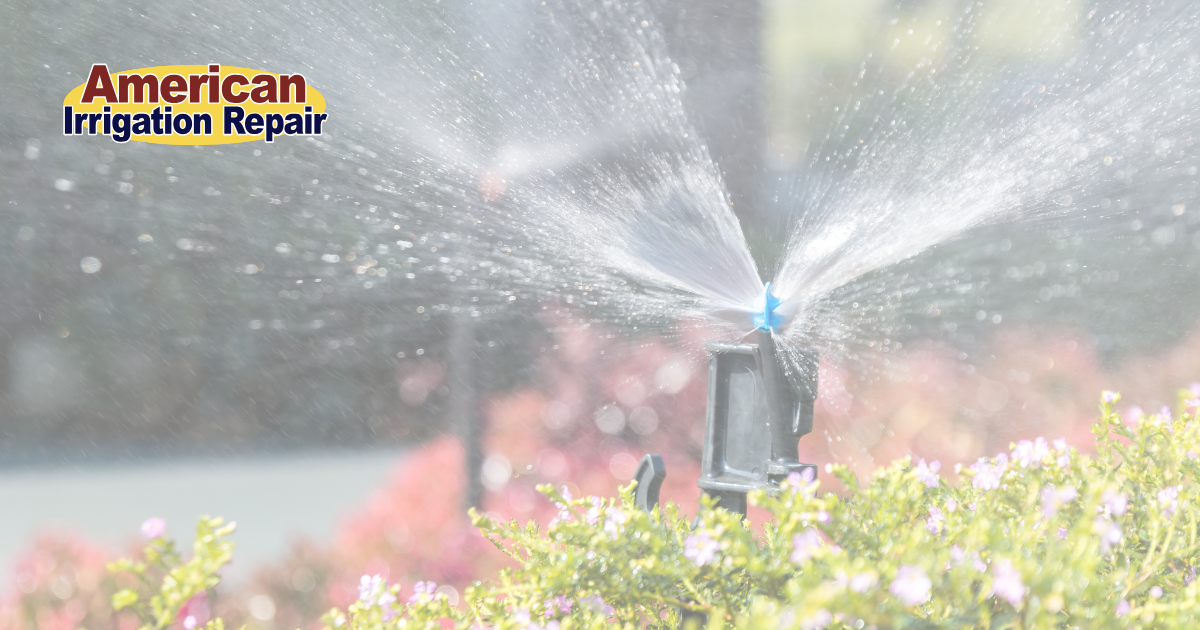
Just because you have a sprinkler system in place doesn’t mean it’s effectively watering your lawn. Over time, sprinkler heads can become misaligned, and your lawn’s watering needs may change. With routine sprinkler head adjustment strategies, you can optimize your irrigation system to ensure your yard stays green and healthy without uneven patches, underwatering, or overwatering.
To adjust your sprinklers, it helps to understand when and why your irrigation system may need to be fine-tuned. When you find adjusting the system is needed, you must learn how to change the spray pattern, distance, direction, and arc. Read on to learn everything you need to know about sprinkler head adjustments.
The Importance of Sprinkler Head Adjustments
With the proper know-how, you can achieve efficient and effective irrigation, giving your lawn the right amount of water in the correct places. Failure to implement these adjustments could lead to issues like the following:
- Uneven watering: Without the perfect spray pattern, you may see patches in your lawn where some areas of grass receive more water than others. This can cause water to pool, appear as leaks or cause disease in your landscape.
- Water Waste: If your spray patterns overlap, overwatering the lawn or watering the hardscapes, you will ultimately waste water, spiking your water bills unnecessarily.
- Property damage: Over time, your sprinkler heads may move in the wrong direction from people or pets stepping on them or mower vehicle and equipment damage. Some sprinklers may accidentally begin spraying structures like your house, shed, and more, causing water damage or rot.
- Under or overwatering: Without the right water level adjustments, you may under or overwater your lawn, which will not keep the grass healthy.
Ultimately, mastering your sprinkler head adjustment strategy can help you enjoy healthier plants and water conservation savings.
Identifying Common Adjustment Needs
Sprinklers require adjustment for numerous reasons beyond being knocked out of place. The following are a few factors that could necessitate adjusting your sprinkler heads:
- Landscaping changes: Changing your landscaping means also updating your sprinkler patterns. For example, if you install a stone patio, you likely won’t need any water in that area. Heads may need to be re-positioned, relocated, or added to prevent watering the patio and ensure adequate coverage.
- Vegetation growth: As plants grow in your yard over time, consider what may or may not need watering. For example, young trees will likely need more frequent watering than mature ones. Bubblers may need to be relocated further into the root zone, or heads may need to be raised. Installation of taller heads may also be a benefit to clear higher turf or plant material.
- Seasonal adjustment requirements: You must also change your sprinkler water schedule and seasonal adjustment percentage based on the season, temperature, and weather.
- Water distribution irregularities: By monitoring your yard regularly, you can view water distribution irregularities, such as patches in your grass or areas with stunted growth, to make further adjustments. Adding heads or coverage areas may be needed to achieve the maximum and most efficient coverage.
Adjusting Different Sprinkler Head Types
Different types of sprinkler heads require specific adjustments to optimize water distribution efficiency while minimizing overspray. Here are some basic instructions for a few of the most popular types of sprinklers:
- Gear-driven rotor sprinklers: Use a rotor adjustment tool to increase or decrease the arc setting using the sprinkler head’s plus and minus symbols. Many common rotors can be adjusted with a screwdriver and Allen wrench to adjust the rotor throw distance. Many common rotor heads have a fixed stop on either the right or left top side of the head. The plus or minus adjustment will typically adjust the arc limit on the opposite side.
- Pop-up sprinklers with adjustable spray: Use a screwdriver or adjustment screw tool on the top of the head to adjust the throw distance. Adjusting the arc is achieved by turning the entire head in the direction you need to adjust. Adjustable style spray heads have a nozzle that either the top or an adjuster just below the top can rotate to adjust the arc of the head.
- Drip sprinklers: Adjust from the emitter to select the right flow rate for the plant material. Many drip emitters are adjustable which can assist in areas of different plant material.
- Impact sprinklers can be adjusted by rotating the head to adjust the stop-side arc and the metal arc limit adjustor to adjust the non-fixed side of the arc.
- Fixed-spray sprinklers: Fixed-spray sprinklers are minimally adjustable. They will have a distance adjuster that can be increased or decreased with a small screwdriver. The arc is generally fixed and non-adjustable. The right and left stops are adjusted by spinning the entire head.
Step-by-Step Adjustment Techniques
Now that you have an idea of how to adjust your sprinkler heads, let’s go through some step-by-step instructions. The exact spray pattern adjustment steps will depend on the type of sprinklers you have, so you may need to check your manual for more specific instructions.
1. Find the Adjustment Screw Thread
The first thing you should do is locate the sprinkler head adjustment screw thread, as this will allow you to make your adjustments. The screw thread is on the top or of the sprinkler or in two places on top for gear drive rotor sprinklers. You will need a screwdriver or special tool to make any adjustments to this screw adjuster.
2. Rotate the Screw or adjuster To Change the Spray Pattern
Now, you can turn your screw clockwise or counterclockwise to adjust the distance of the spray pattern. For many types of sprinklers, this action will affect the arc, ultimately increasing how far the water sprays, though it could also affect the direction of the water.
Before changing anything, be sure that the sprinkler head and water are in the right positions. Some sprinklers must be positioned a certain way before you can begin adjustments. For example, with a gear-driven rotor sprinkler, the head should be facing to the left at a completed cycle before you make any adjustments.
3. Follow the Arrows To Change the Spray Distance
Most sprinkler heads will also have arrows with plus and minus symbols indicating spray distance control. When you turn your adjustment tool accordingly, you can control how much water the sprinkler will let out. The spray distance screw thread may be in the same spot as the previous adjuster, or it may be located elsewhere on the sprinkler head, depending on which type you have.
4. Test and Change Accordingly
As you make any changes, you must turn the water on so you can test what you’ve done and adjust accordingly. After adjusting all sprinkler heads, ensure you have uniform coverage across your yard to avoid over- or underwatering.
Troubleshooting and Maintenance Tips
As you go through your sprinkler head adjustment steps, you may discover issues like clogs, leaks, or damaged components. You can clean filters to resolve clogs, though damaged components and leaks often require repairs from a professional.
Conducting routine maintenance can help you prevent issues with your irrigation system. We recommend replacing worn-out parts, cleaning filters, and checking for leaks regularly to keep your irrigation system functioning optimally.
Need Help Adjusting Your Sprinklers?
Adjusting your sprinkler heads for optimal water efficiency and total yard coverage isn’t always an easy task. If you need help, call American Irrigation Repair today at (512) 943-6080 to get answers to any further questions you might have and schedule sprinkler head adjustment services or repairs.
